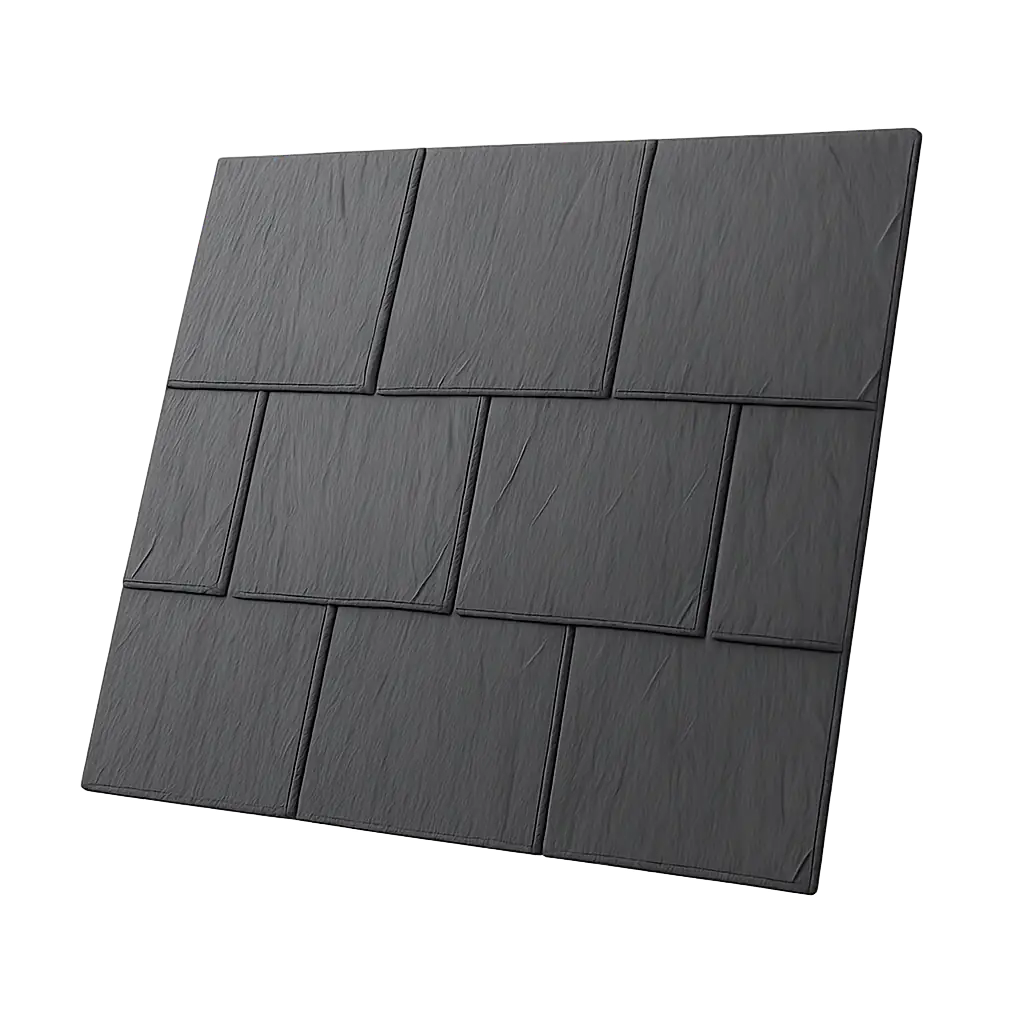
Natural Slate
Timeless elegance and unmatched longevity.
 Skip to content
 Timeless elegance and unmatched longevity.
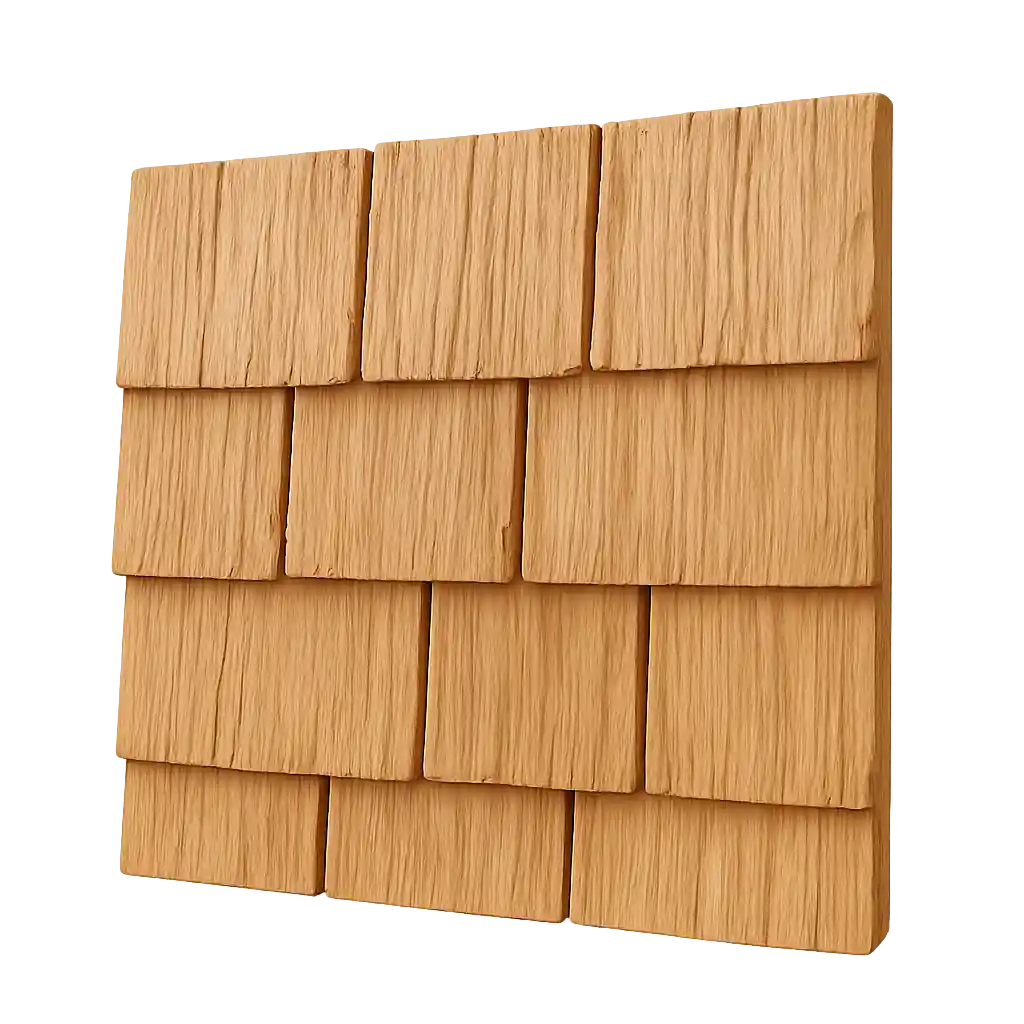
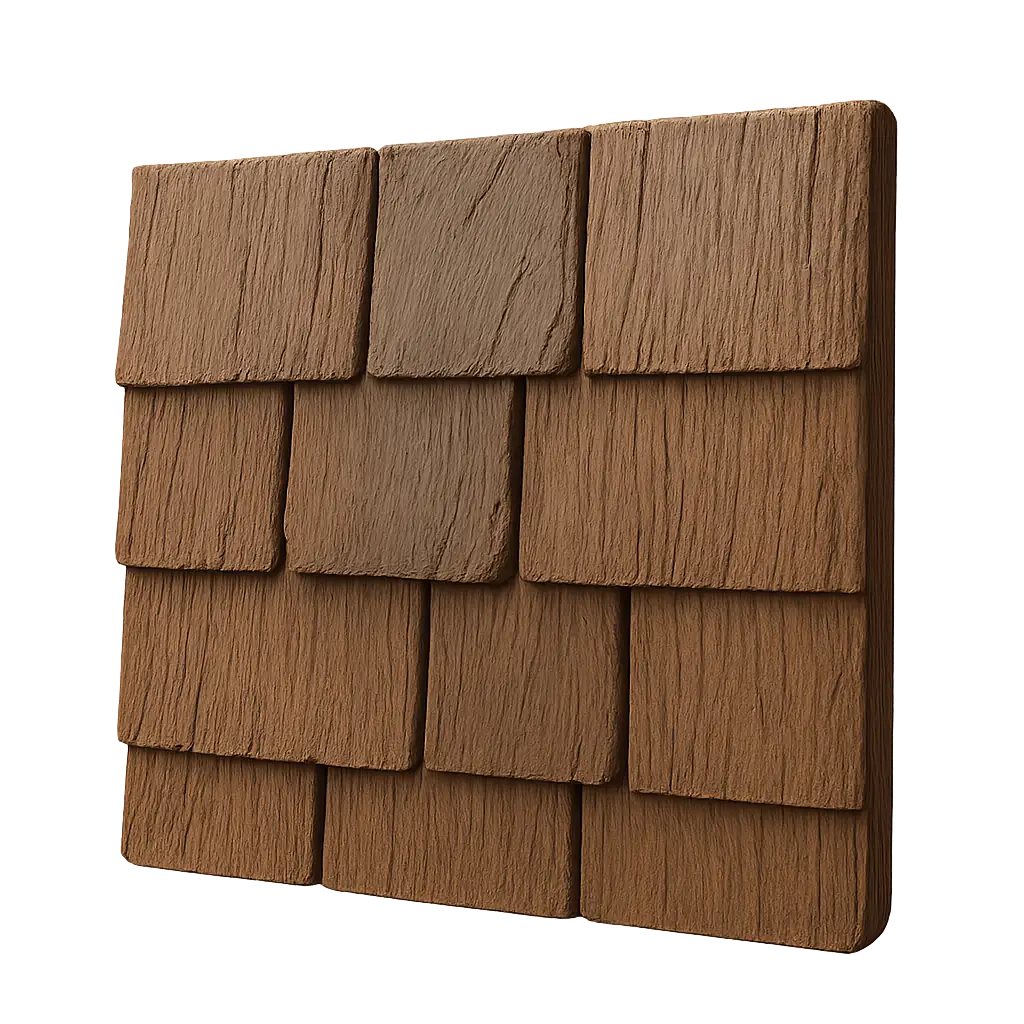
Rustic warmth with natural insulation.
Slate & shake looks, modern performance.
Architectural shingles with slate-like appeal.
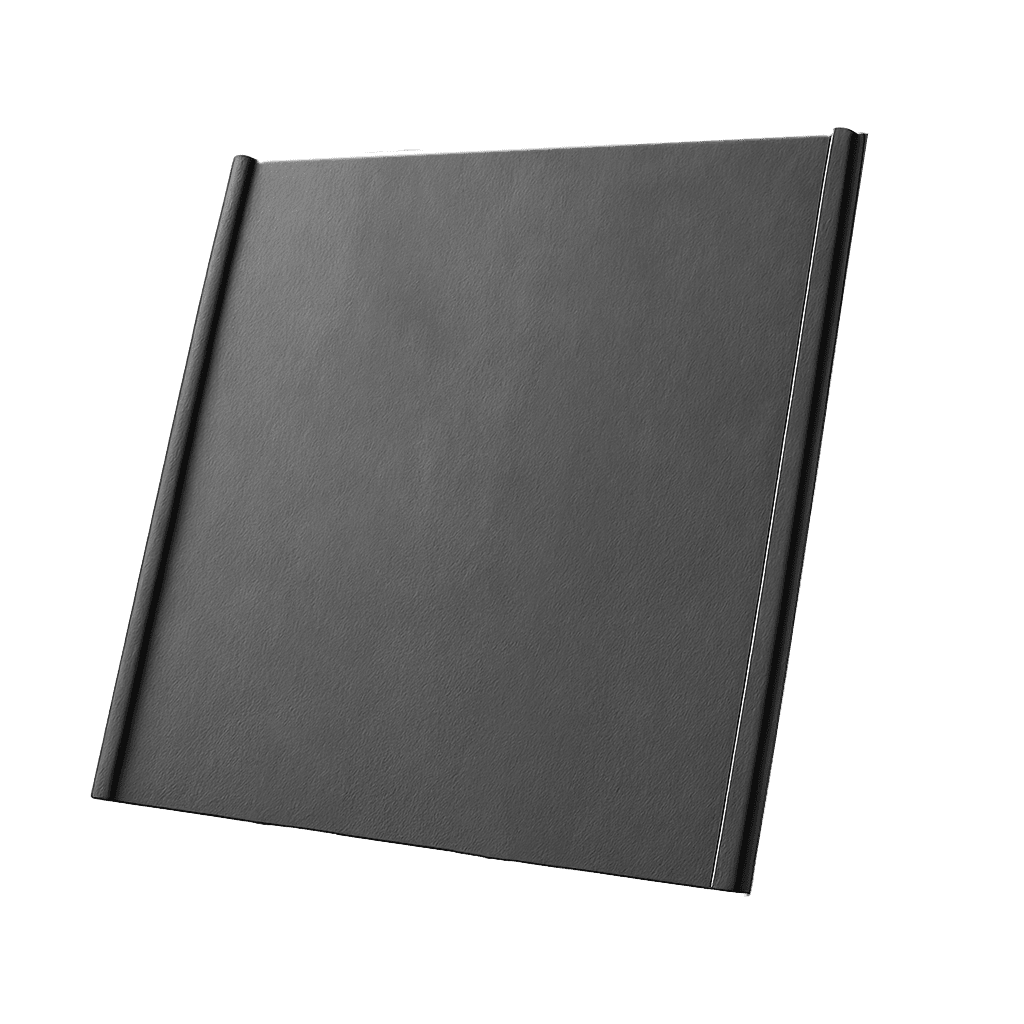
Energy-efficient, modern, and long-lasting.
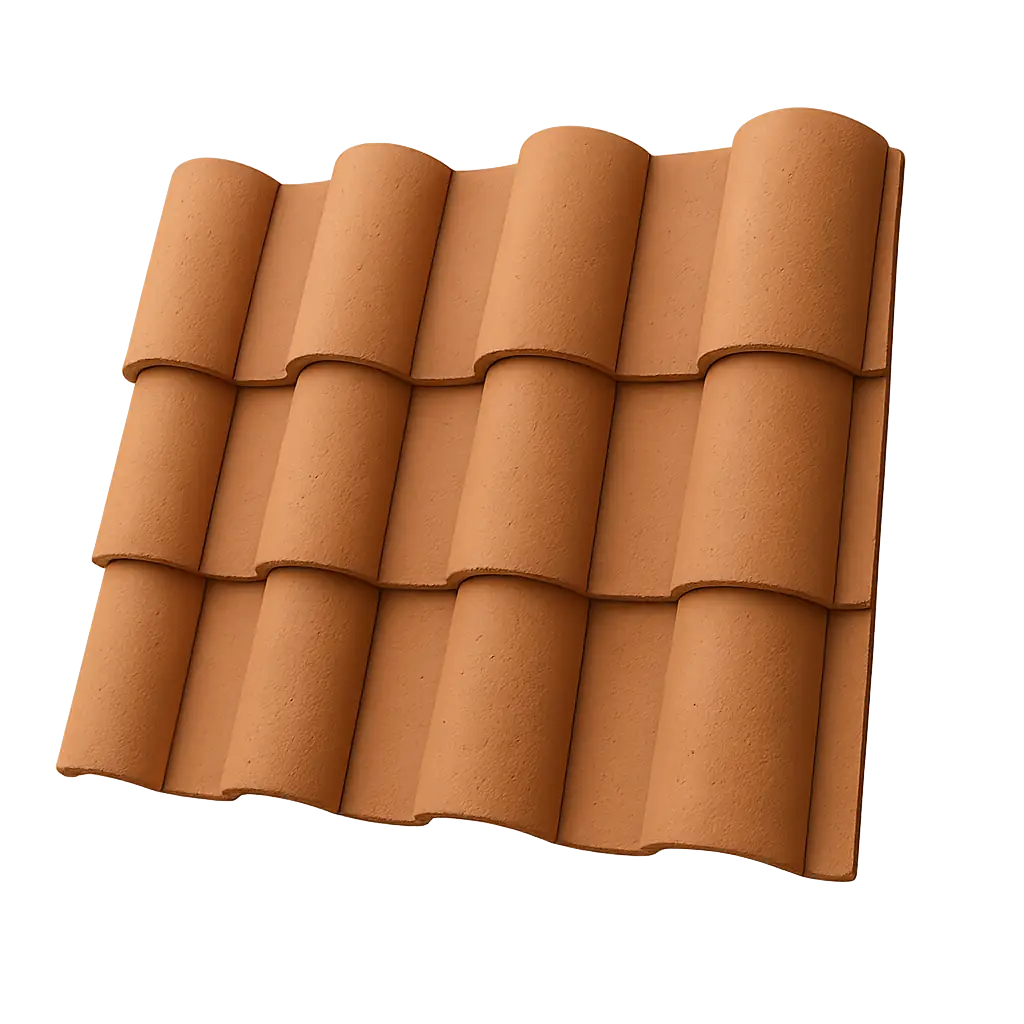
Mediterranean beauty, natural fire resistance.
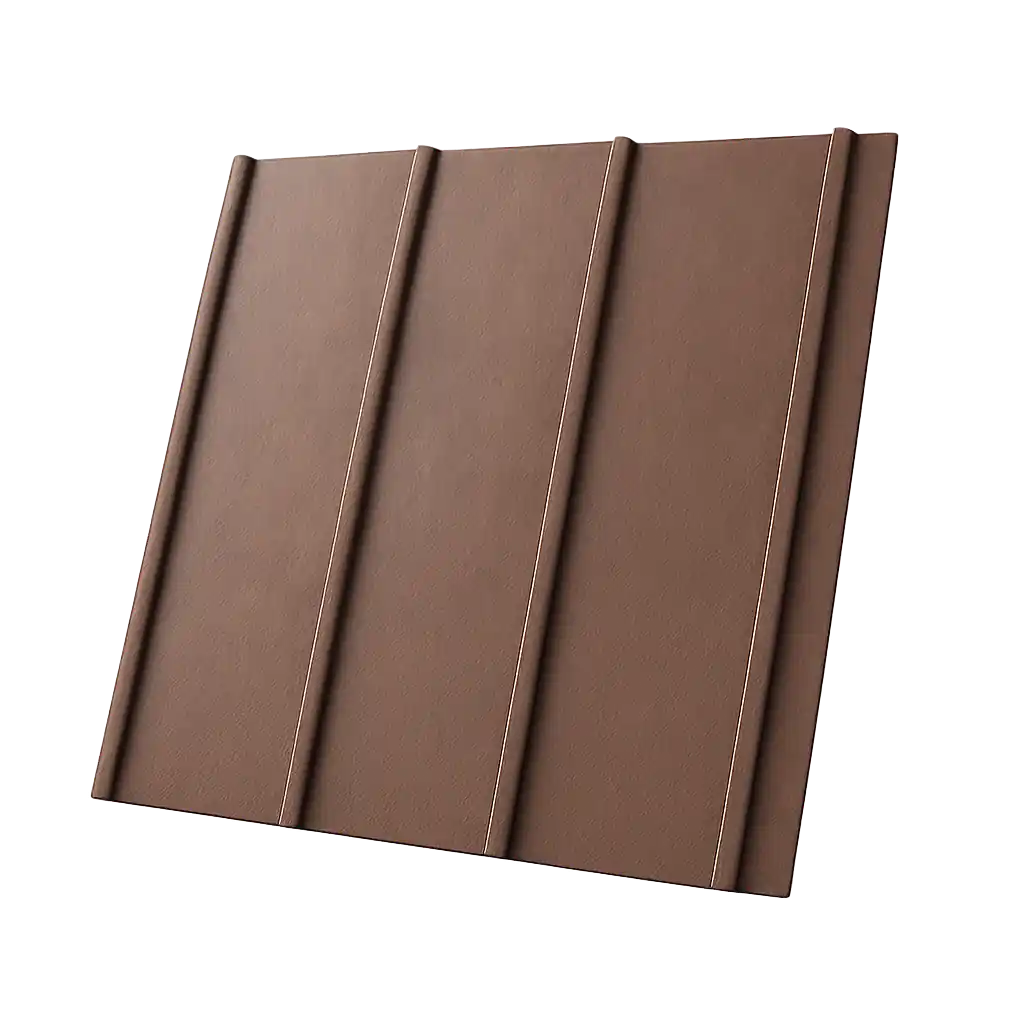
Lightweight durability with classic charm.
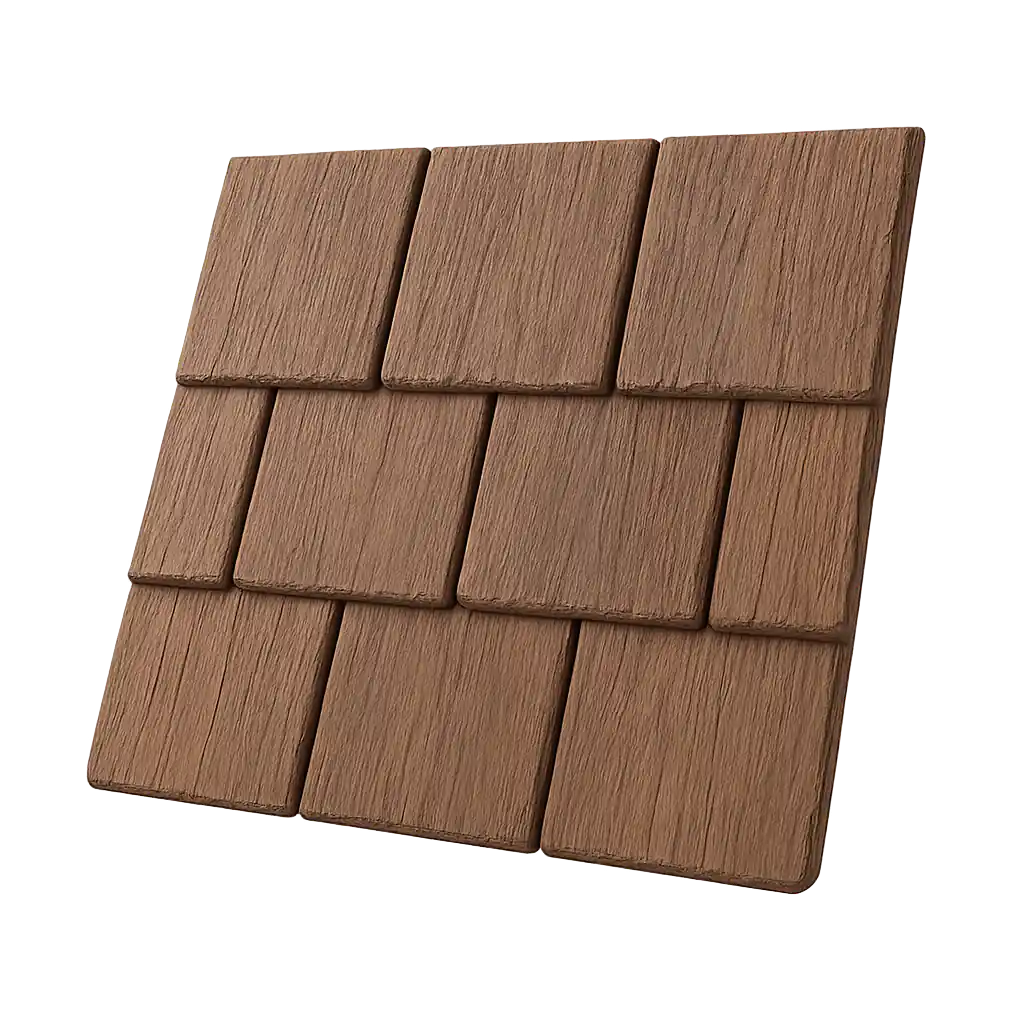
Wood shake appearance, no rot or warping.
The gold standard for low-slope protection.

Eco-friendly composites with authentic detail
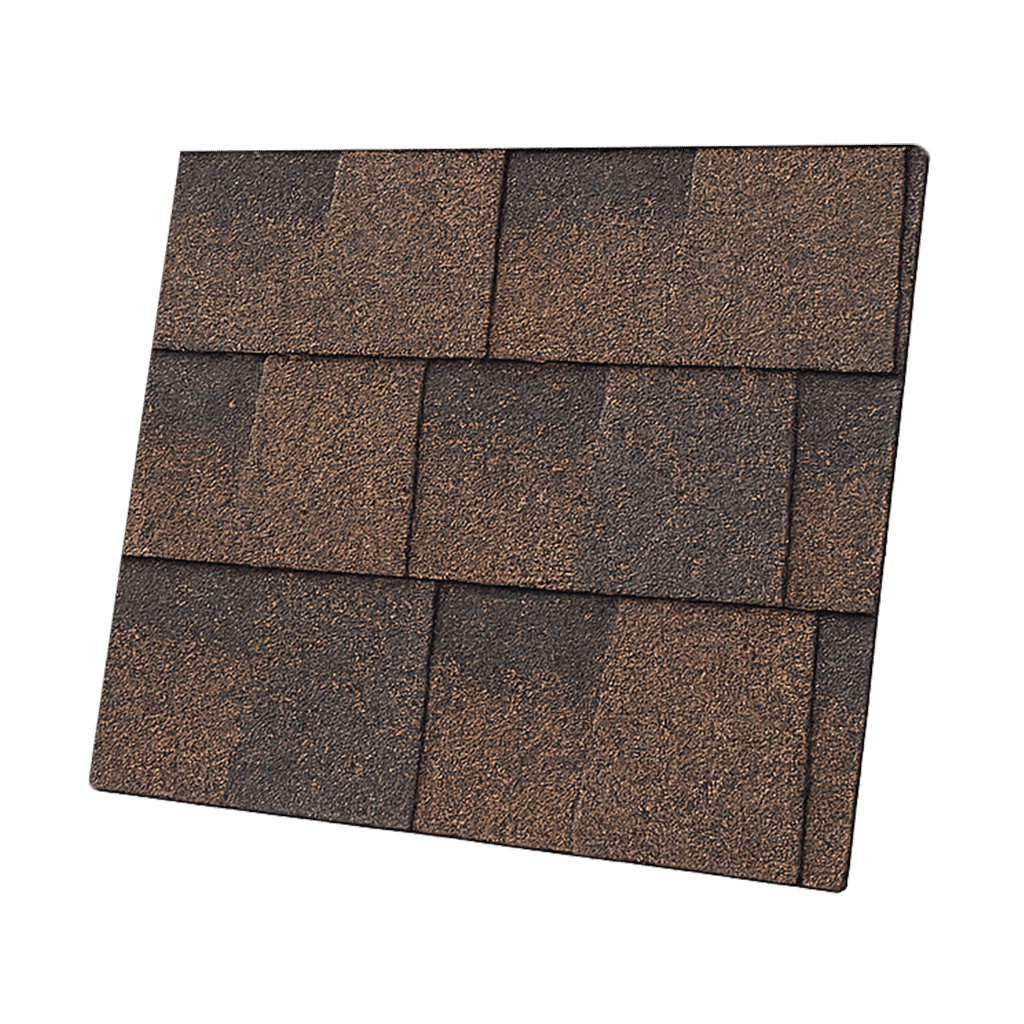
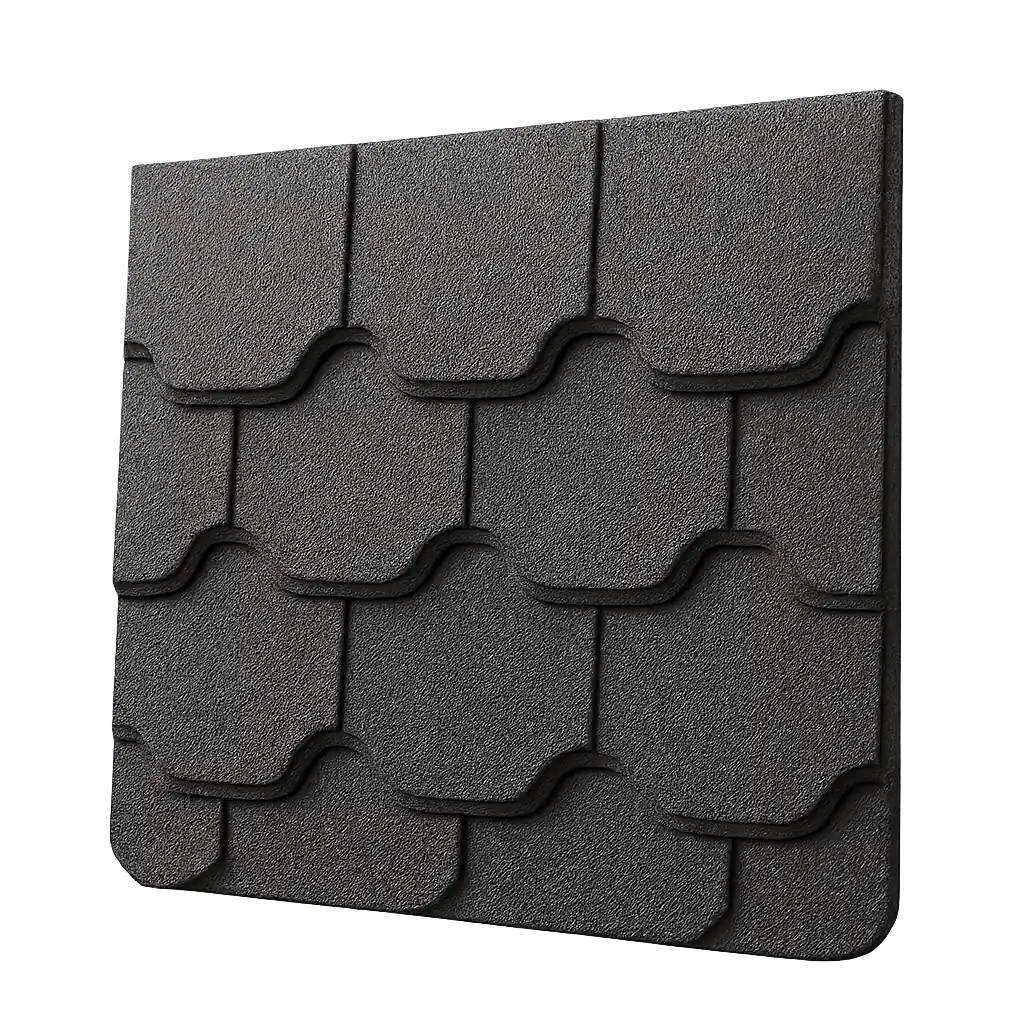
Classic layered look, durable protection.
Share
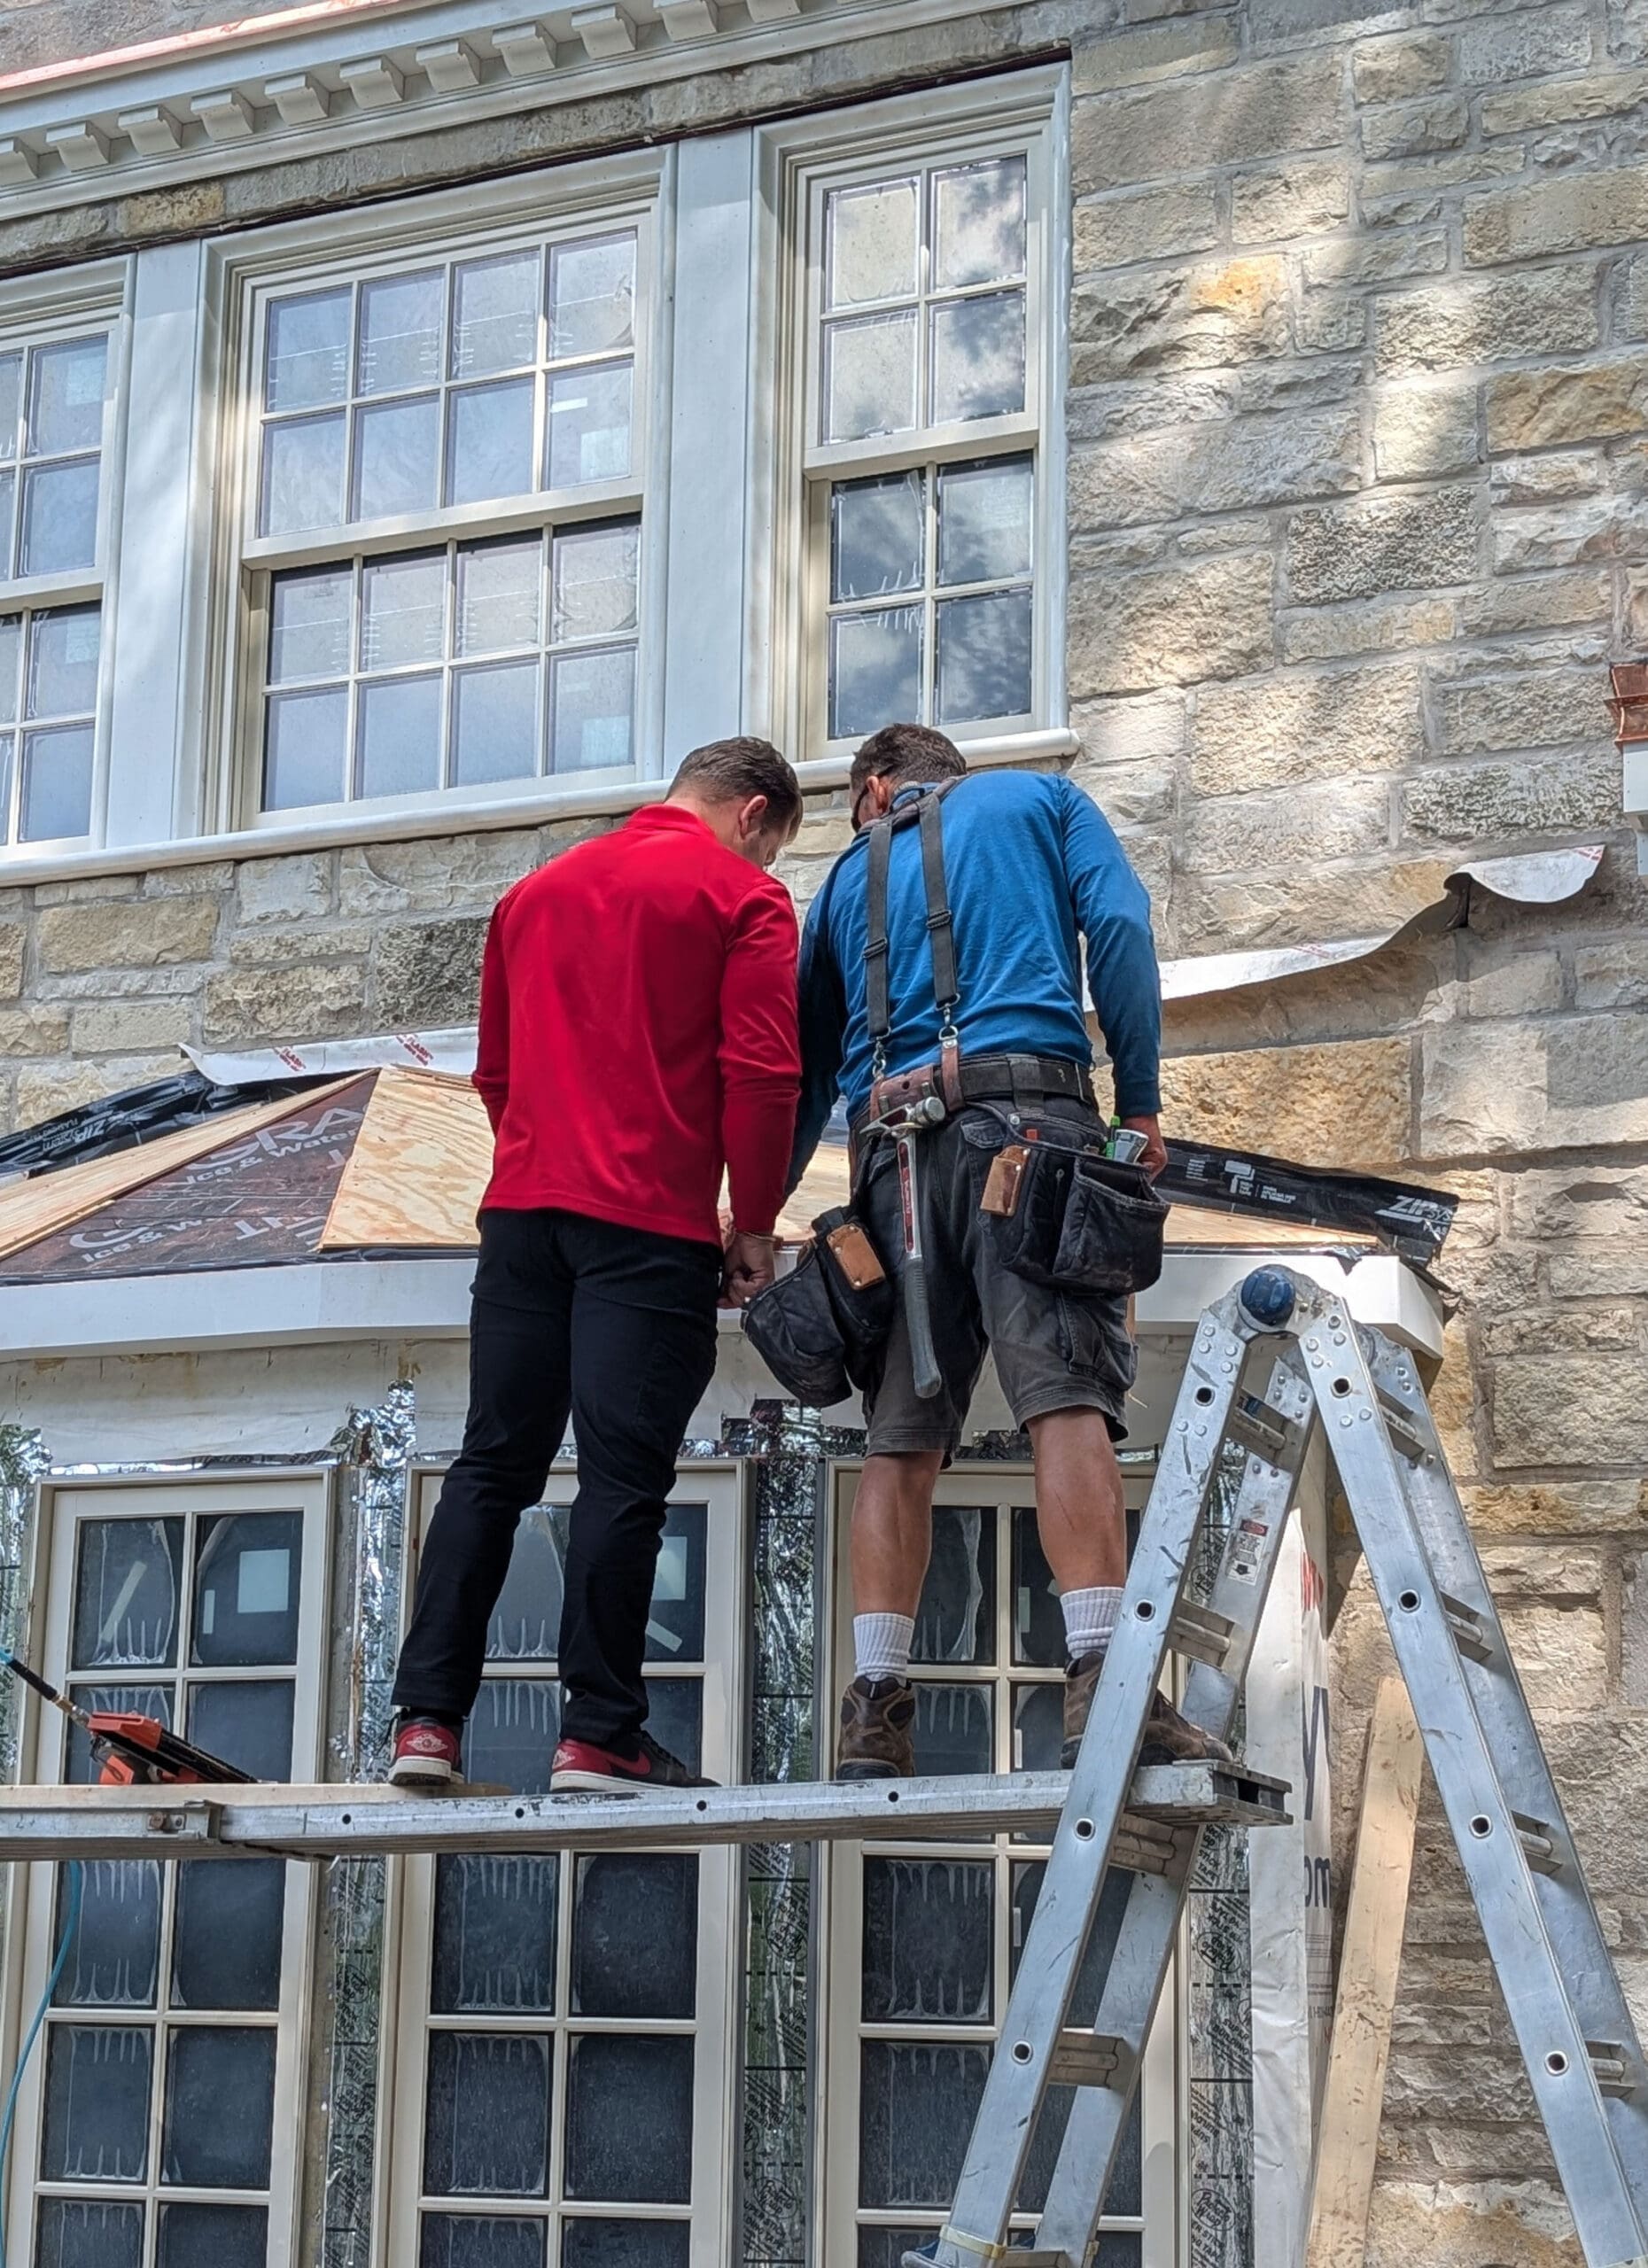
A roof inspection sounds straightforward. Someone goes up on the roof, looks around, and tells you what they find. In practice, the gap between a thorough inspection and a cursory one is enormous, and the difference determines whether you make a good decision about your roof or a costly mistake.
Here’s what a professional roof inspection should cover, step by step, and where the shortcuts usually happen.
A thorough inspection starts before the inspector reaches the ladder.
The inspector should ask you questions before they look at anything. What problems have you noticed? Where do leaks appear? When were they first visible? Has any work been done on the roof recently? How old is the current roofing material?
These questions direct the inspection. A leak in the master bedroom tells the inspector to pay particular attention to the roof plane, valleys, and penetrations above that room. A report of ice dam damage in winter points toward ventilation and insulation issues. Without this conversation, the inspector is working blind.
Before climbing, the inspector should walk the perimeter of the home and look at the roof from ground level. This reveals obvious issues that set the context for the on-roof inspection: missing or displaced material visible from below, sagging rooflines that indicate structural problems, staining on exterior walls that suggests flashing failure, and the general condition of gutters and downspouts.
A good inspector also notes the roof’s geometry from the ground: the number of slopes, valleys, hips, dormers, and penetrations (chimneys, vents, skylights). This creates a mental map of the areas that need the most attention.
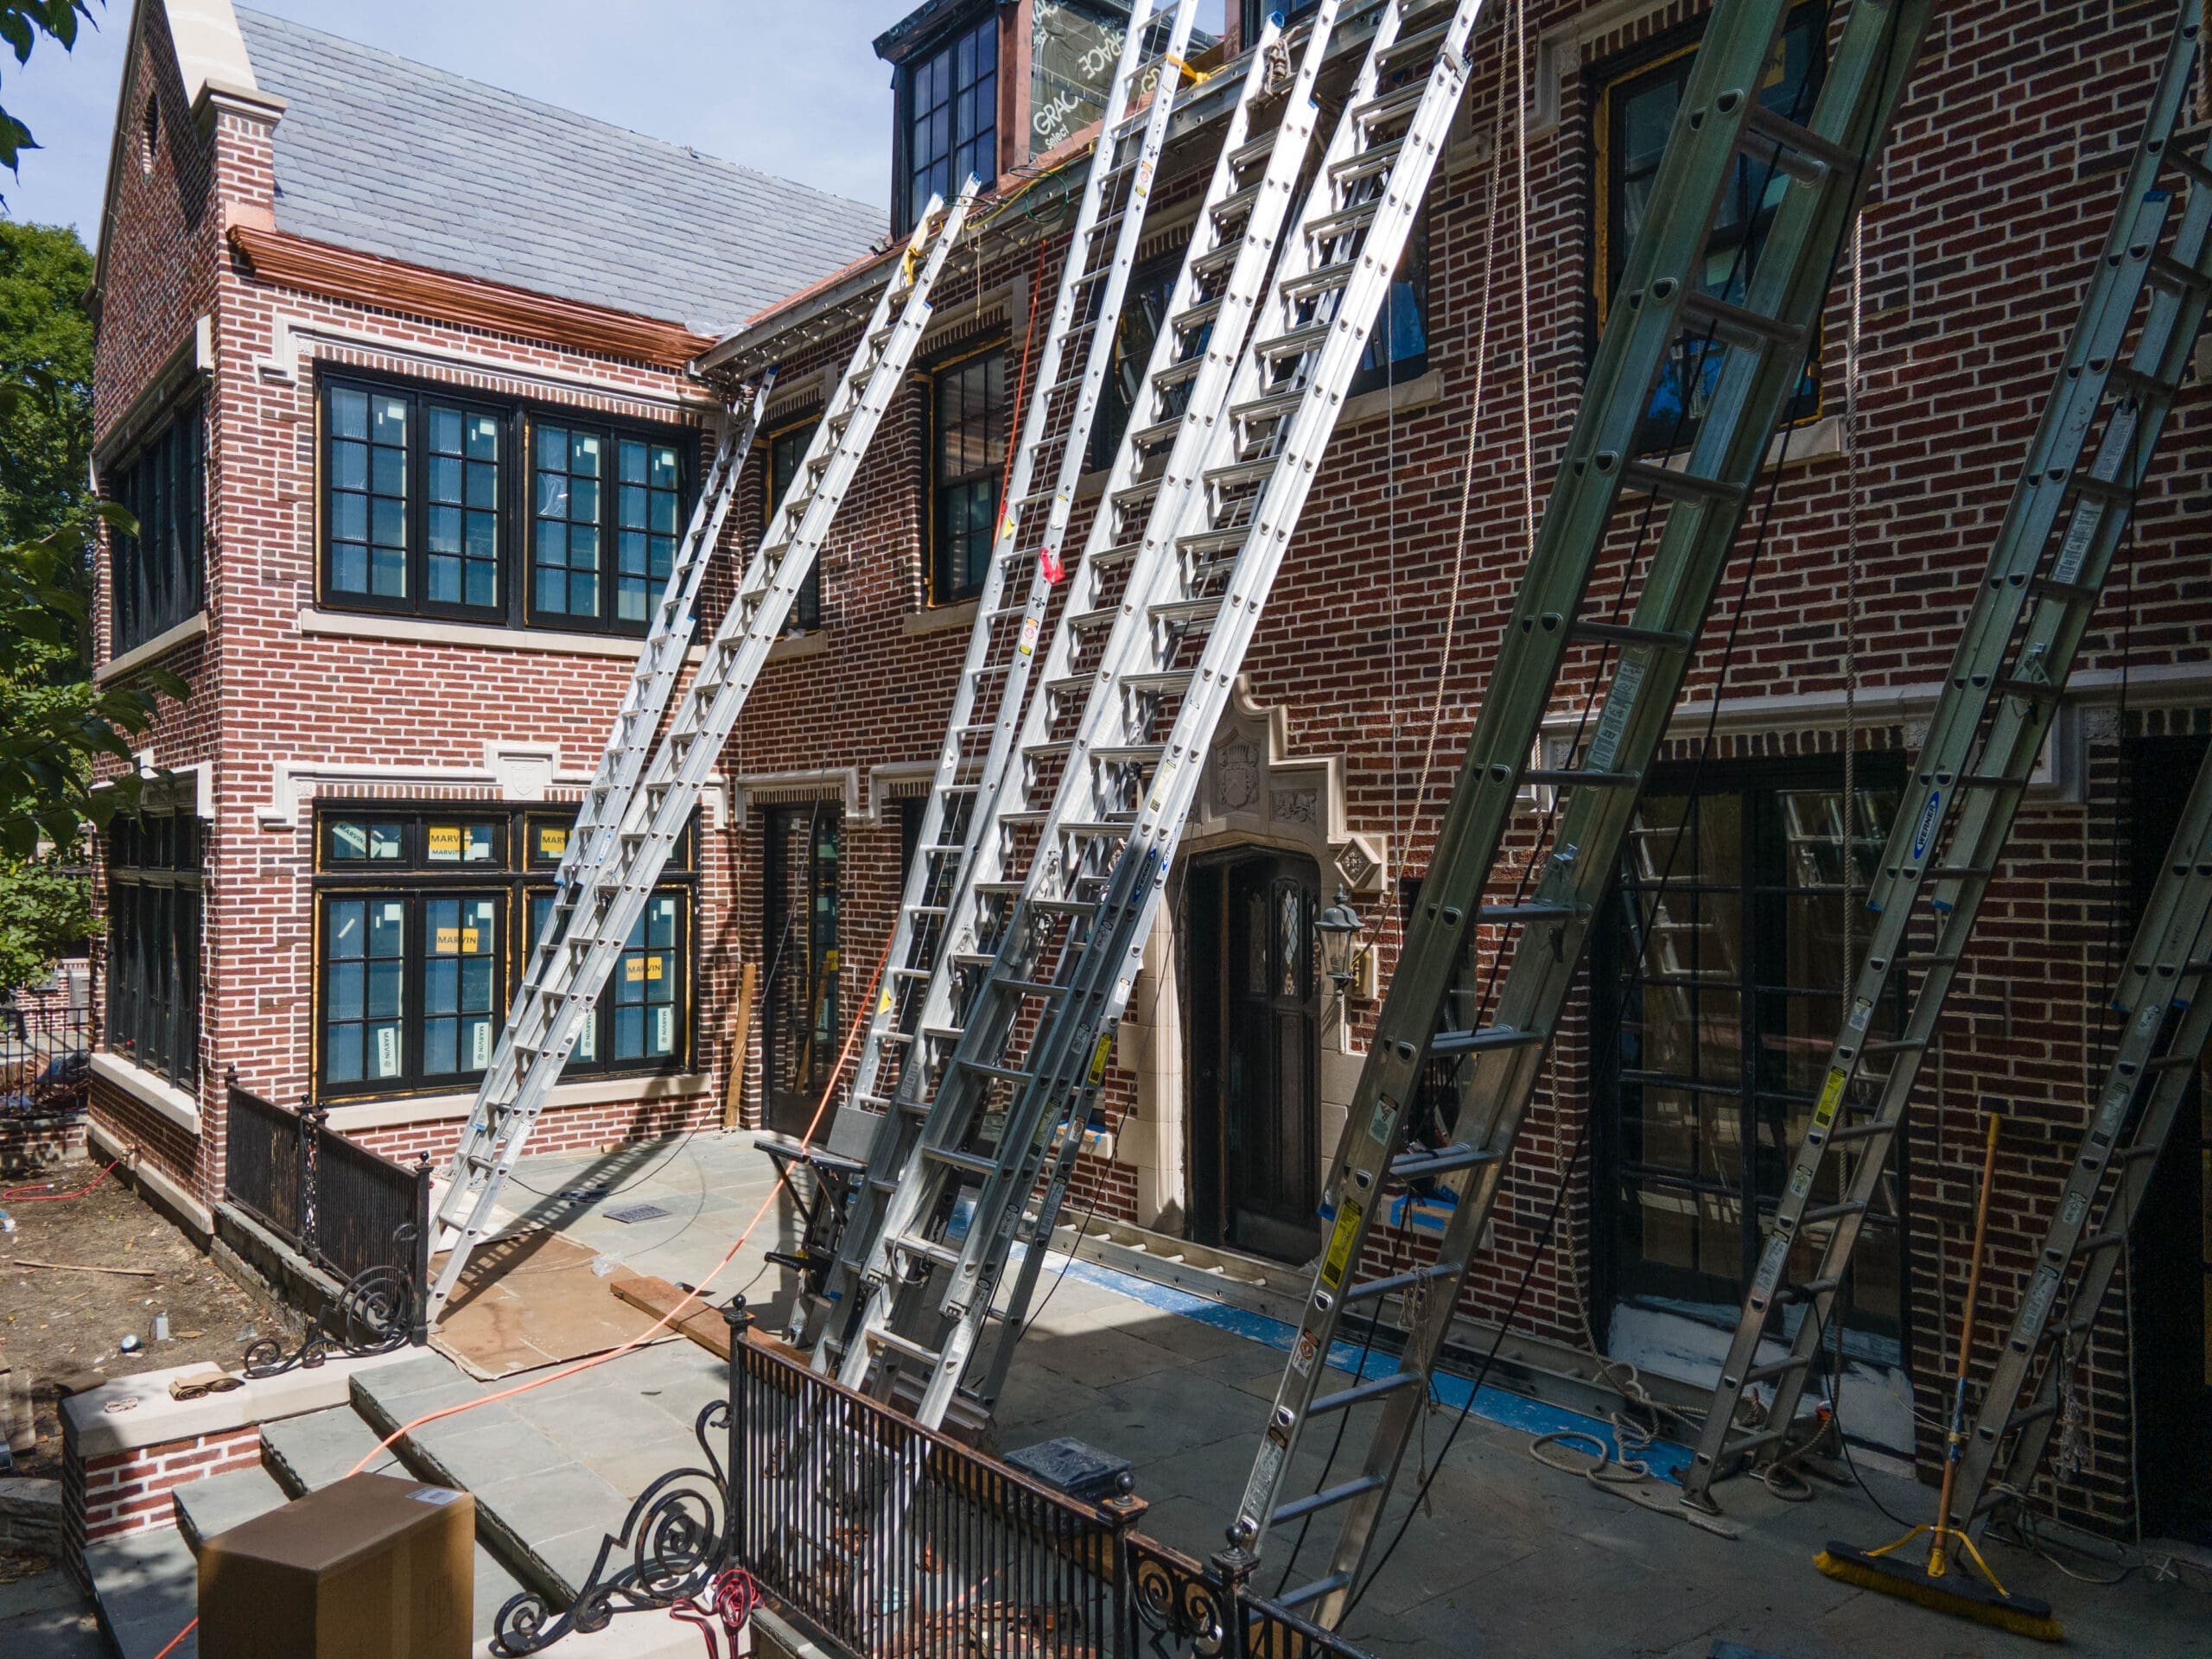
This is where the real evaluation happens, and where shortcuts are most common.
The inspector should evaluate the primary roofing material across every accessible slope, not just the sections visible from the driveway. What they’re looking for depends on the material:
Asphalt shingles: Granule loss patterns, curling, cracking, blistering, nail pops, and exposed fasteners. The inspector should check whether shingle tabs are still sealed or have begun to lift.
Cedar shake: Splitting, curling, cupping, moss and algae growth, bare patches where shakes have fallen away, and signs of moisture retention (dark, soft wood).
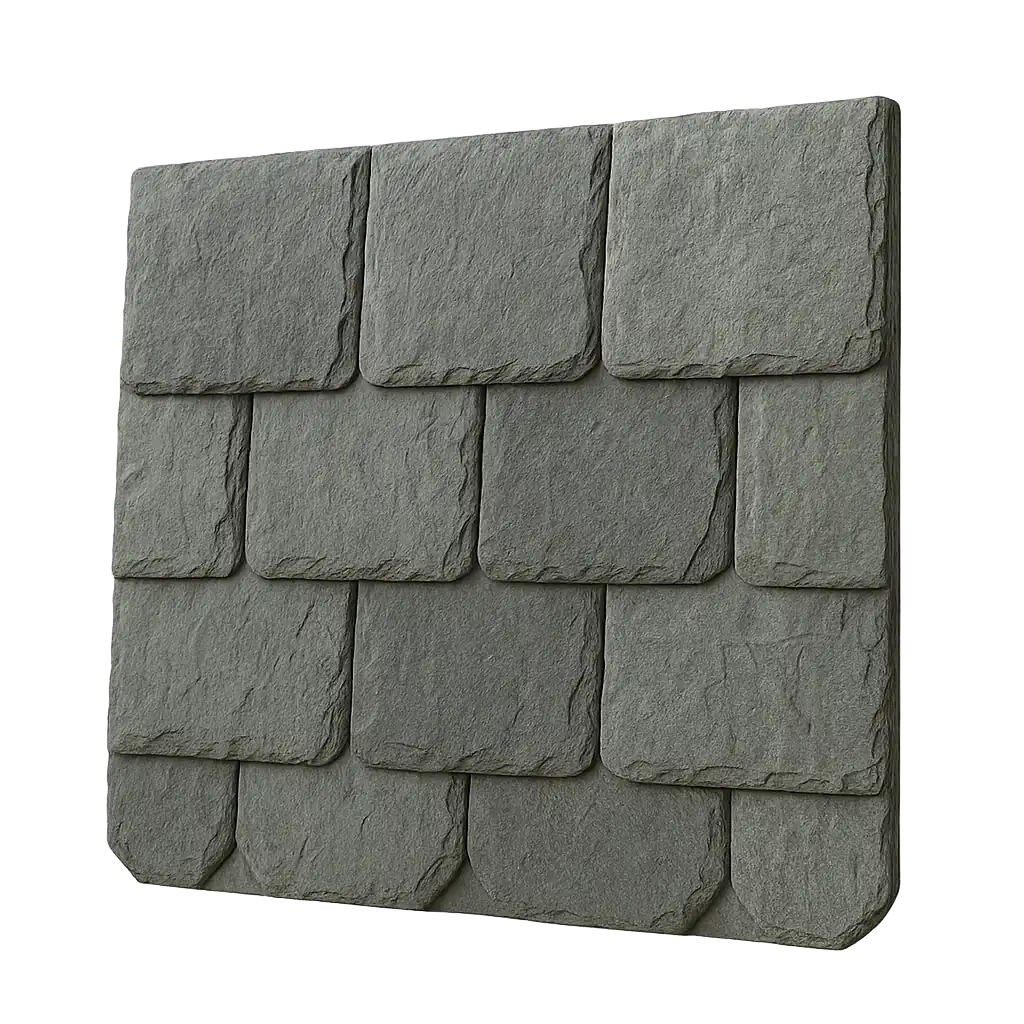
Slate: Cracked or broken tiles, slipped tiles, delamination (surface flaking), and the tap test for tiles that sound dull rather than ringing, which indicates internal deterioration.
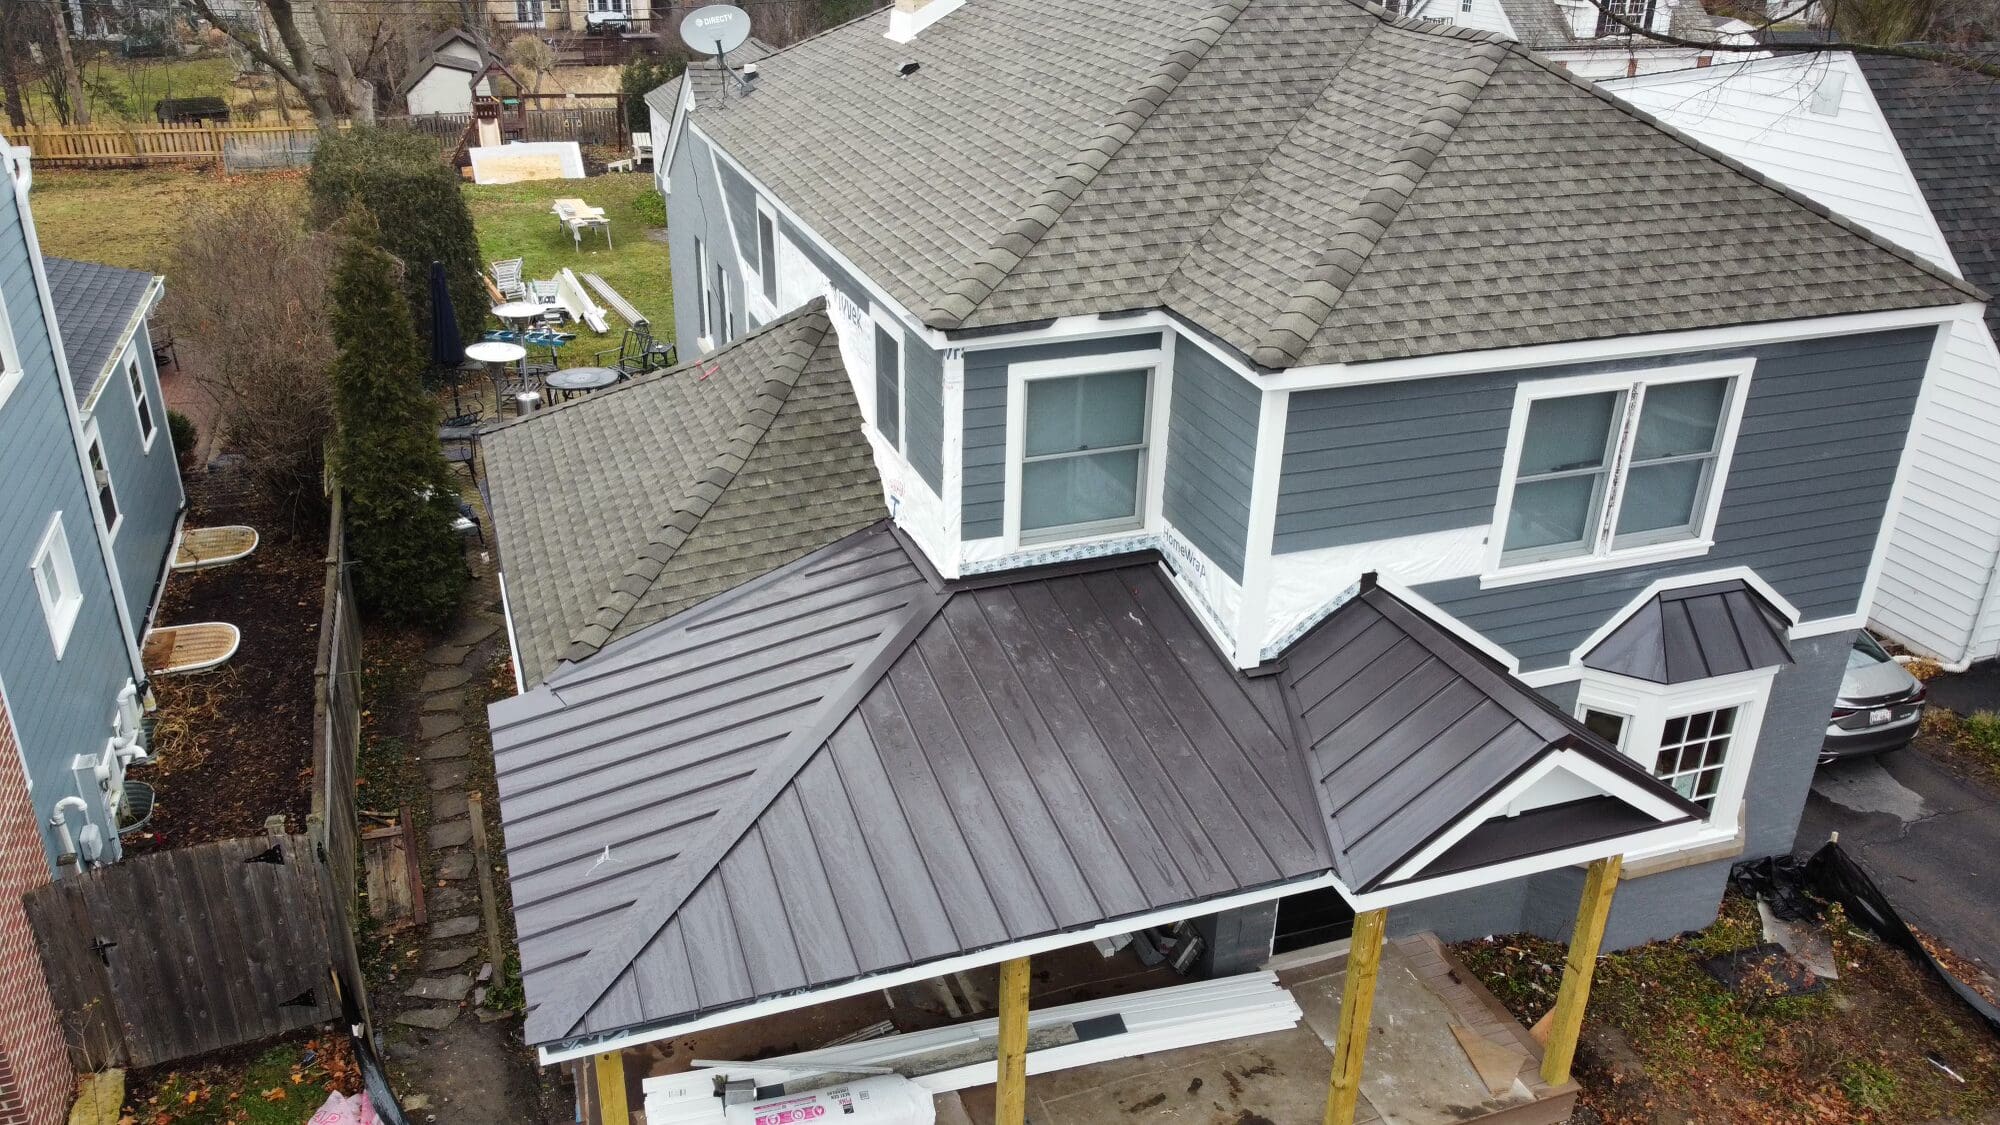
Metal: Fastener condition, panel alignment, seam integrity, and corrosion at cut edges or around penetrations.
Synthetic products: Tile displacement, color changes, surface condition, and fastener performance.
The inspector should document what they find with photographs, not just notes. You should receive images showing the specific issues, not a verbal summary.
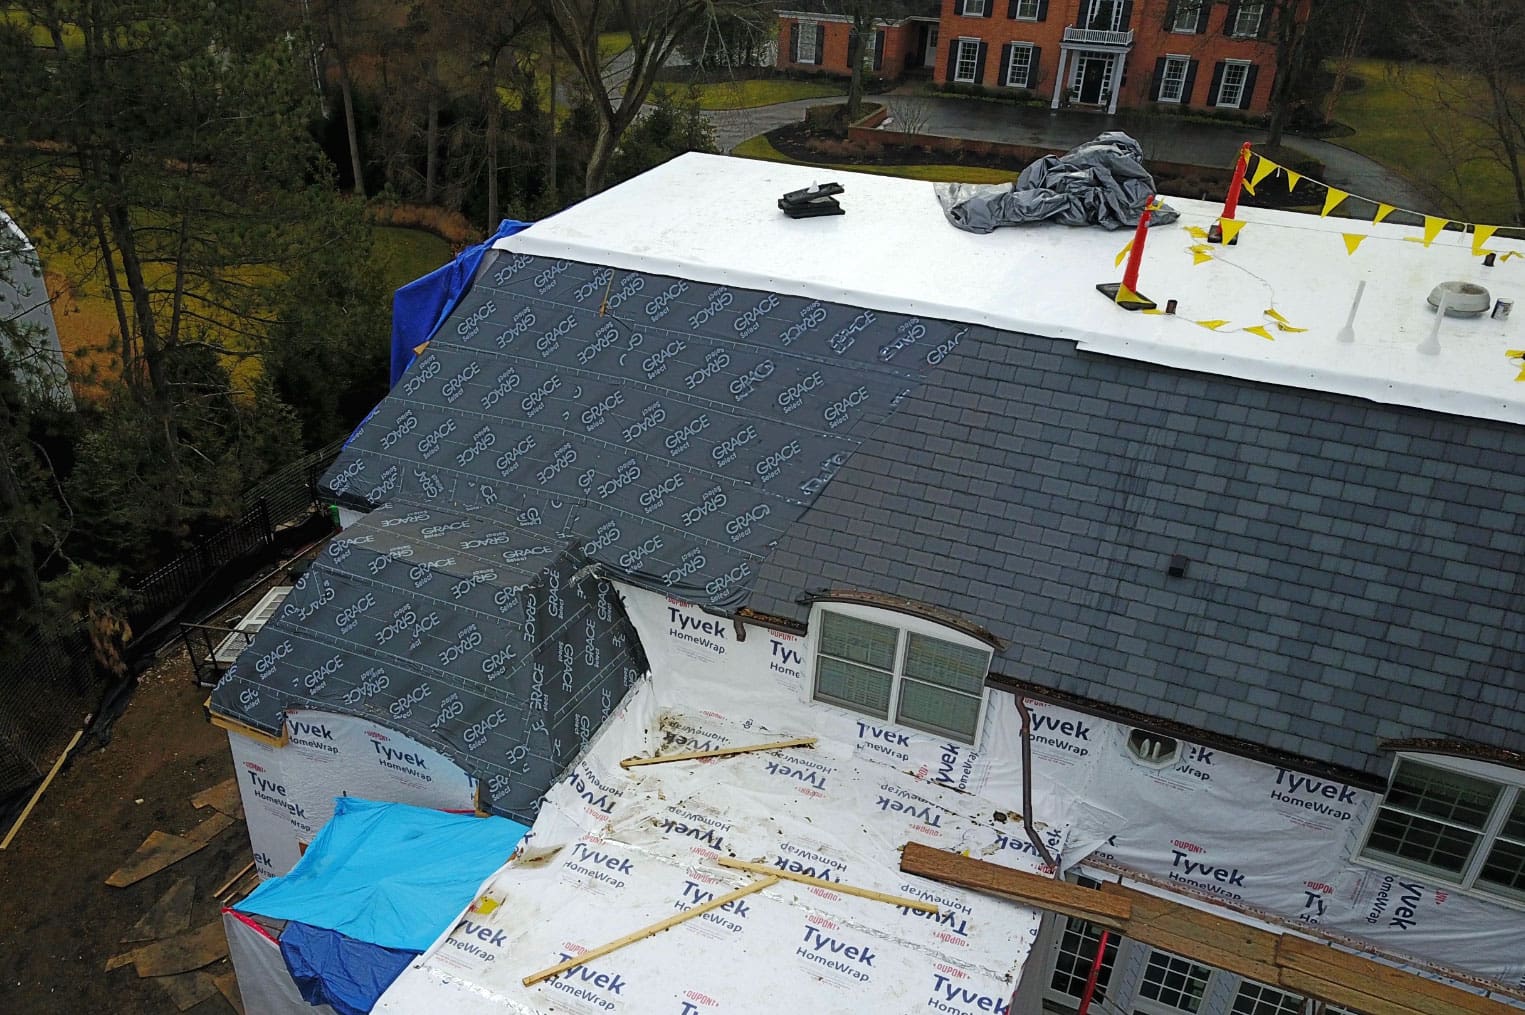
Flashing is the metal (usually aluminum, copper, or galvanized steel) that seals the joints between the roof surface and vertical elements like chimneys, walls, skylights, and vent pipes. Flashing failure is one of the most common causes of roof leaks, and it’s one of the most frequently skipped items in a quick inspection.
A proper evaluation checks every flashing point on the roof:
Step flashing where the roof meets a sidewall. Counter flashing at the top of step flashing, typically embedded in masonry. Valley flashing in the V-channels where two roof planes meet. Chimney flashing around the base and cricket (the small peaked structure behind the chimney that diverts water). Vent boot flashing around plumbing vent pipes, HVAC exhausts, and other roof penetrations. Drip edge along the eave and rake lines.
Each of these has its own failure mode. Vent boots crack and split as the rubber deteriorates. Step flashing corrodes where dissimilar metals meet. Chimney counter flashing pulls away from aging mortar joints. A thorough inspector checks all of them.
Attic ventilation directly affects roof lifespan. Every major roofing manufacturer requires adequate ventilation as a condition of their warranty. Insufficient ventilation traps heat and moisture in the attic, which accelerates material deterioration from the underside.
The inspector should evaluate:
Intake vents (soffit vents, eave vents) to confirm they’re open and unobstructed. Insulation pushed against the soffit is a common blockage. Exhaust vents (ridge vents, box vents, power vents) to confirm they’re functional and properly sized for the attic volume. Net free area calculation to determine whether the total ventilation meets the 1:150 or 1:300 ratio required by building code and manufacturer specifications.
If the inspector doesn’t mention ventilation, ask about it. A roof replacement performed without correcting ventilation deficiencies is a missed opportunity that can shorten the new roof’s life by years.
Water management is part of roof performance. The inspector should note:
Gutter condition: Rust, separation at seams, sagging sections, and whether the gutters are sized appropriately for the roof area they serve. Downspout positioning: Whether downspouts direct water away from the foundation or dump it against the house. Debris accumulation: Granules in the gutters indicate shingle wear. Standing water indicates improper slope. Ice dam evidence: Staining or damage at the eave line that indicates past ice dam formation.
The on-roof evaluation shows you the outside. The interior inspection shows you the consequences.
An inspector who doesn’t ask to look inside your attic is skipping a critical step. The attic reveals:
Active leaks or past water damage: Staining on the underside of the roof deck, water marks on rafters or trusses, and mold or mildew growth. Insulation condition: Whether insulation is adequate, properly installed, and not blocking ventilation pathways. Structural integrity: Sagging rafters, cracked trusses, or signs of overloading. Daylight penetration: Visible light through the roof deck indicates gaps or missing material that should be sealed.
Water stains on ceilings, peeling paint on upper floor walls, and soft spots in drywall near the roofline all indicate leak paths that the exterior inspection should explain. If the inspector finds damage inside that doesn’t correspond to a visible exterior issue, that’s a signal to look harder at the roof or the flashing.
The most common shortcuts in roof inspections:
Skipping the attic entirely. Many inspectors stay outside. They look at the roof surface, hand you a quote, and leave. Without the attic inspection, they’re diagnosing half the system.
Checking one slope and assuming the rest. A roof with four slopes and three valleys has conditions that vary by exposure, shade, and water flow patterns. Checking only the front slope (the one visible from the driveway) misses problems on the back and sides.
Ignoring flashing. A quick inspection looks at the roofing material. A thorough inspection looks at every joint, seam, and penetration point. Flashing problems cause leaks that get blamed on the roofing material.
No photographs. If the inspector can’t show you what they found, you’re relying on their verbal summary. Photos create accountability and give you a record to compare against future inspections.
No ventilation assessment. Ventilation affects everything about the roof’s long-term performance. Skipping it is like a doctor checking your blood pressure but not your heart rate.
Drone-only inspections. Drones are useful for documenting overall condition and for steep or dangerous roofs where access is limited. But a drone can’t do a tap test on slate, feel for soft decking, or check whether flashing is sealed. A drone supplements an on-roof inspection. It doesn’t replace one.
A professional inspection should produce a written report that includes:
A summary of the roof’s overall condition and estimated remaining useful life. Specific findings organized by component (material, flashing, ventilation, drainage, structure). Photographs of every significant finding. Prioritized recommendations (what needs immediate attention vs. what to monitor). An explanation of what each finding means for the homeowner, not just technical jargon.
If you receive a verbal summary and a price quote, you didn’t get an inspection. You got a sales call with a ladder.
Want a thorough inspection that covers everything described here? Schedule one. We’ll walk through the full process and give you a documented assessment you can use to make an informed decision.
Timeless elegance and unmatched longevity.
Rustic warmth with natural insulation.
Slate & shake looks, modern performance.
Architectural shingles with slate-like appeal.
Energy-efficient, modern, and long-lasting.
Mediterranean beauty, natural fire resistance.
Lightweight durability with classic charm.
Wood shake appearance, no rot or warping.
The gold standard for low-slope protection.
Eco-friendly composites with authentic detail
Classic layered look, durable protection.