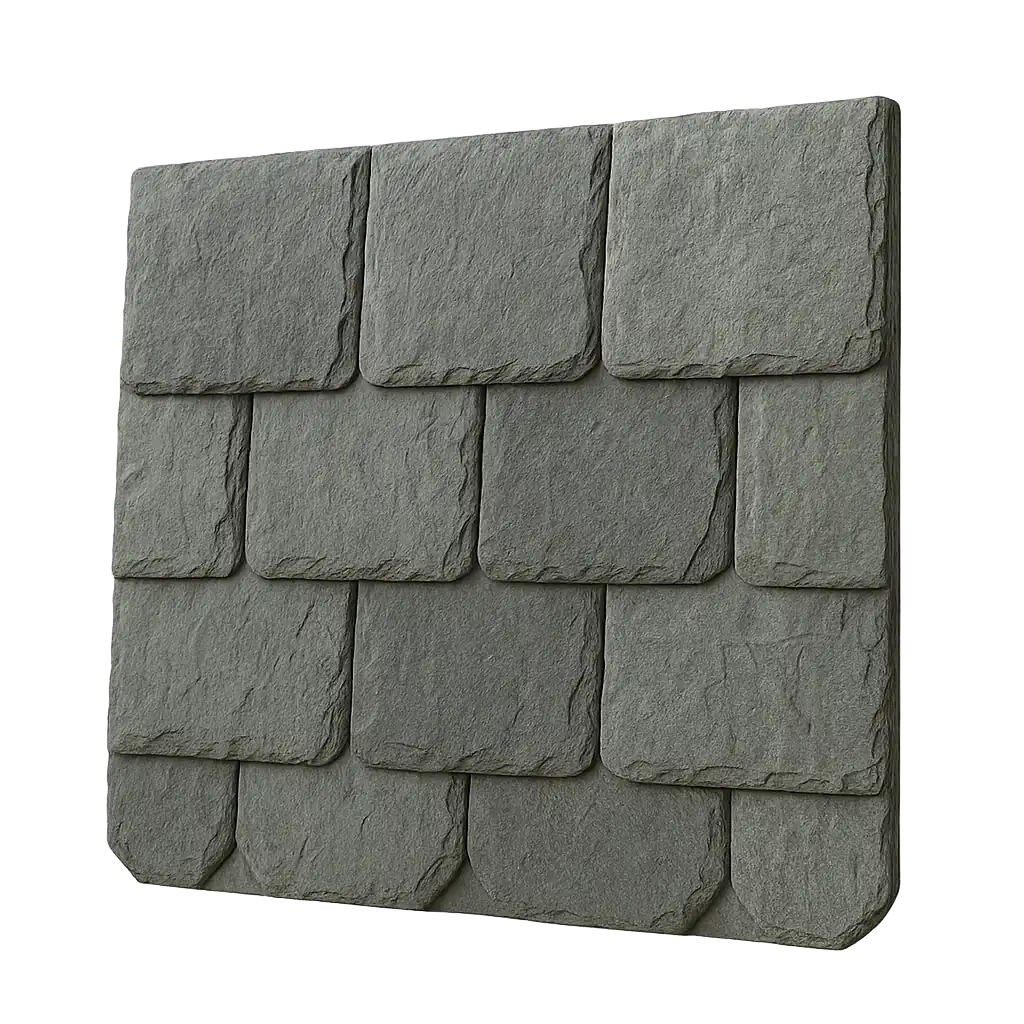
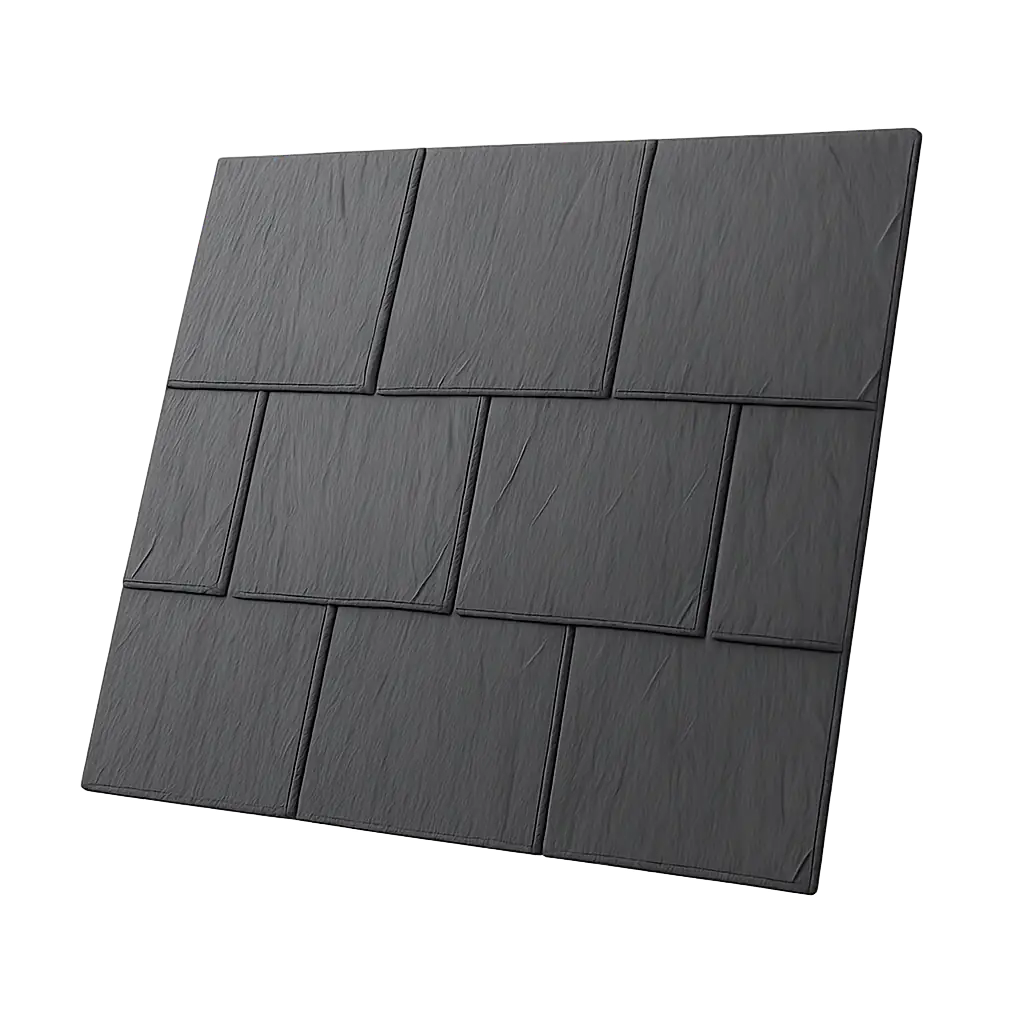
Natural Slate
Timeless elegance and unmatched longevity.
 Skip to content
 Timeless elegance and unmatched longevity.
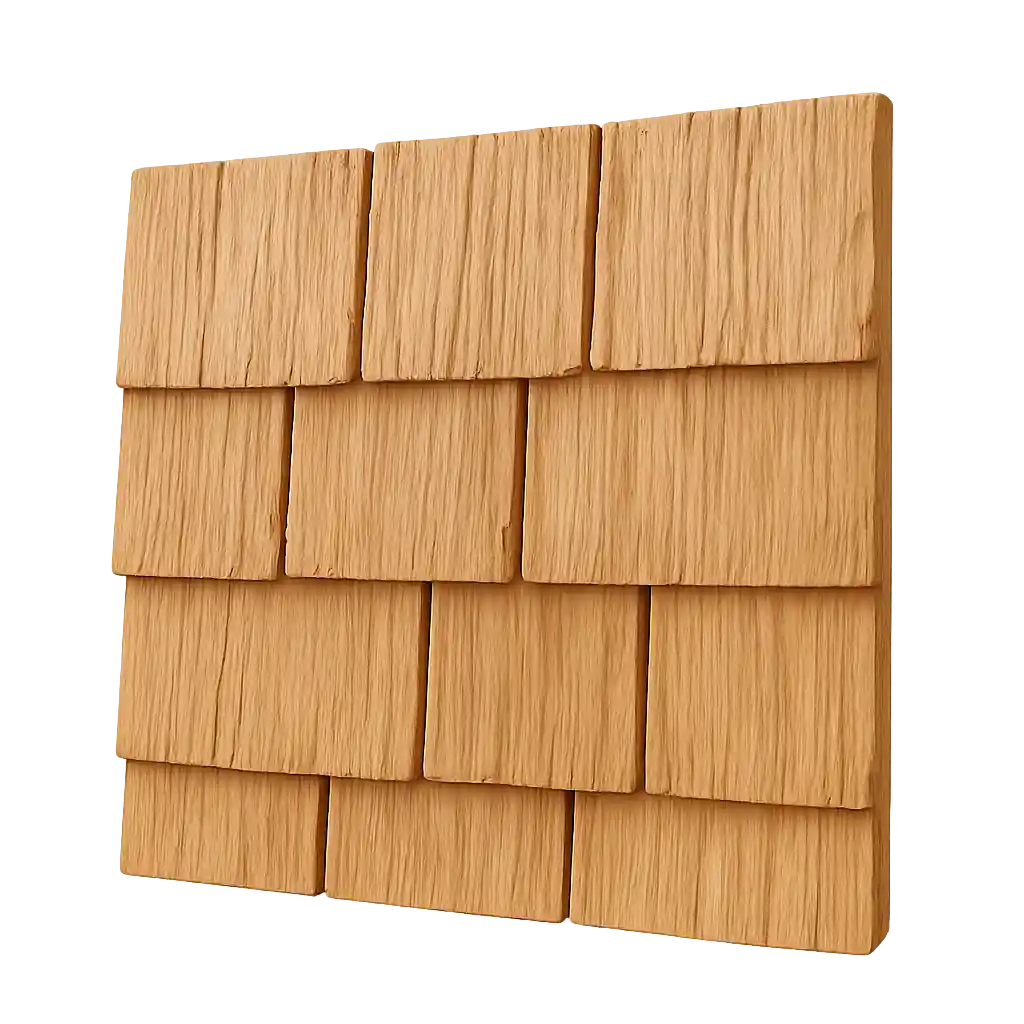
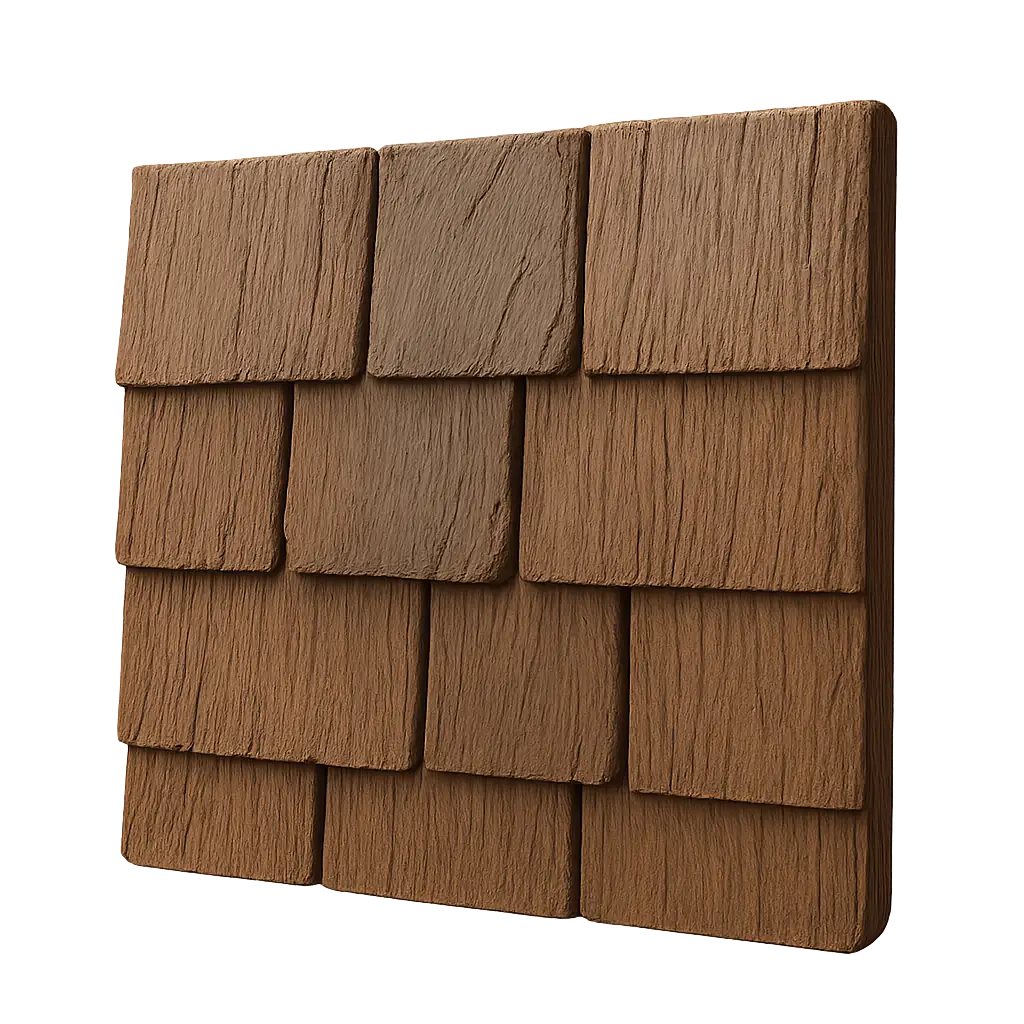
Rustic warmth with natural insulation.
Slate & shake looks, modern performance.
Architectural shingles with slate-like appeal.
Energy-efficient, modern, and long-lasting.
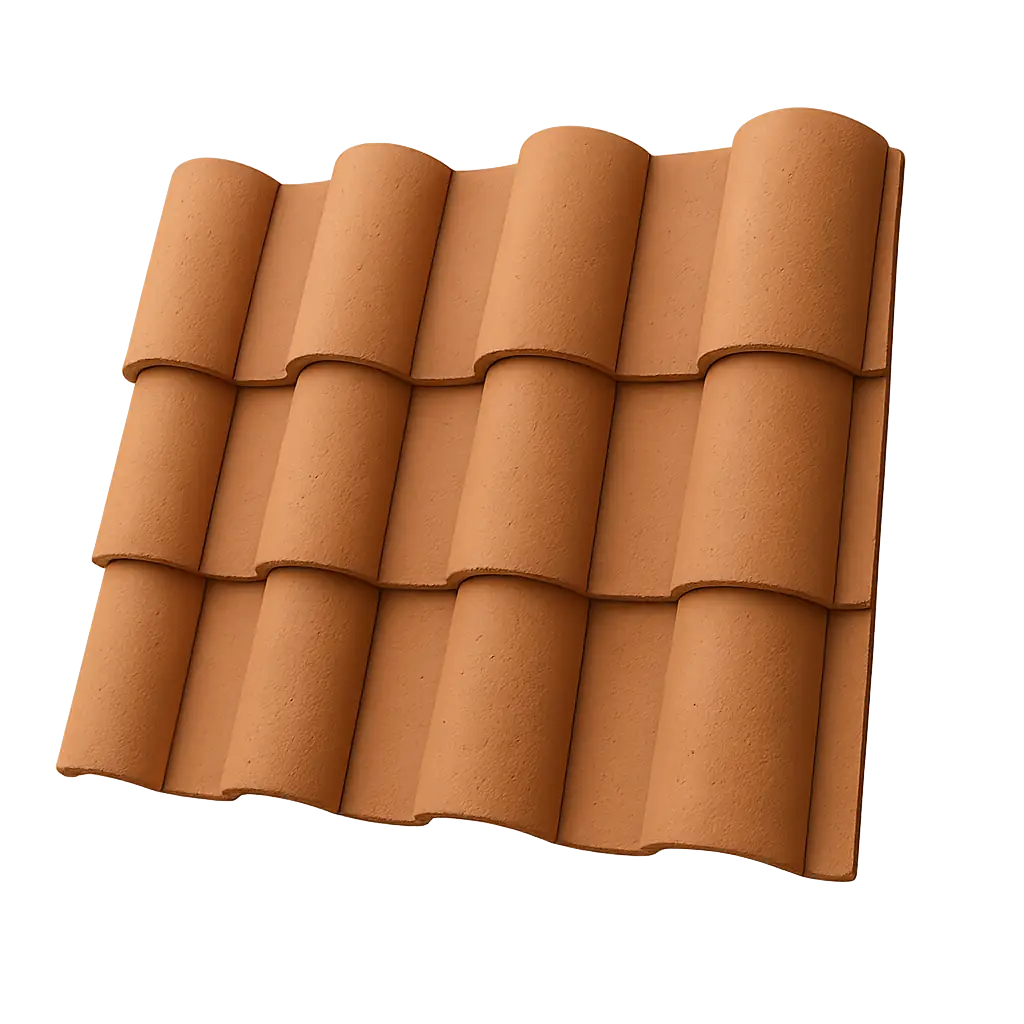
Mediterranean beauty, natural fire resistance.
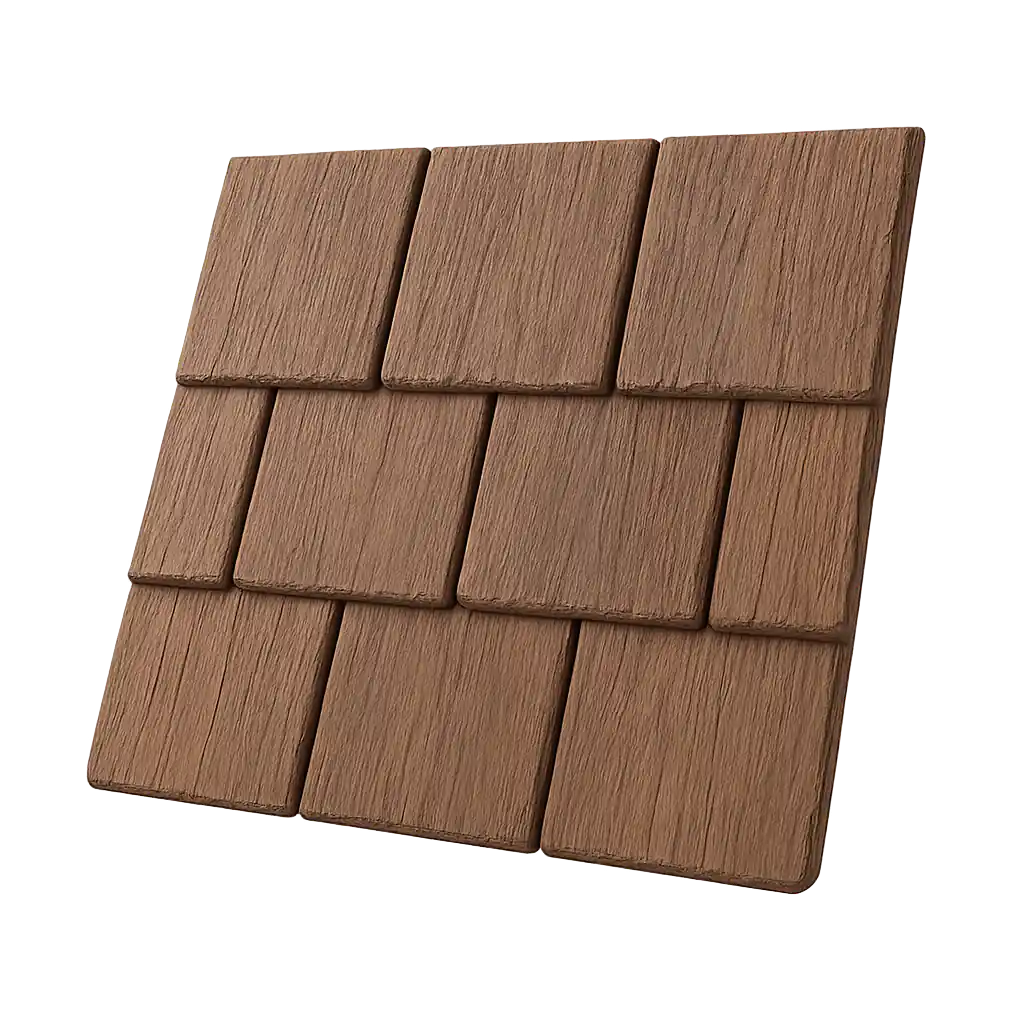
Lightweight durability with classic charm.
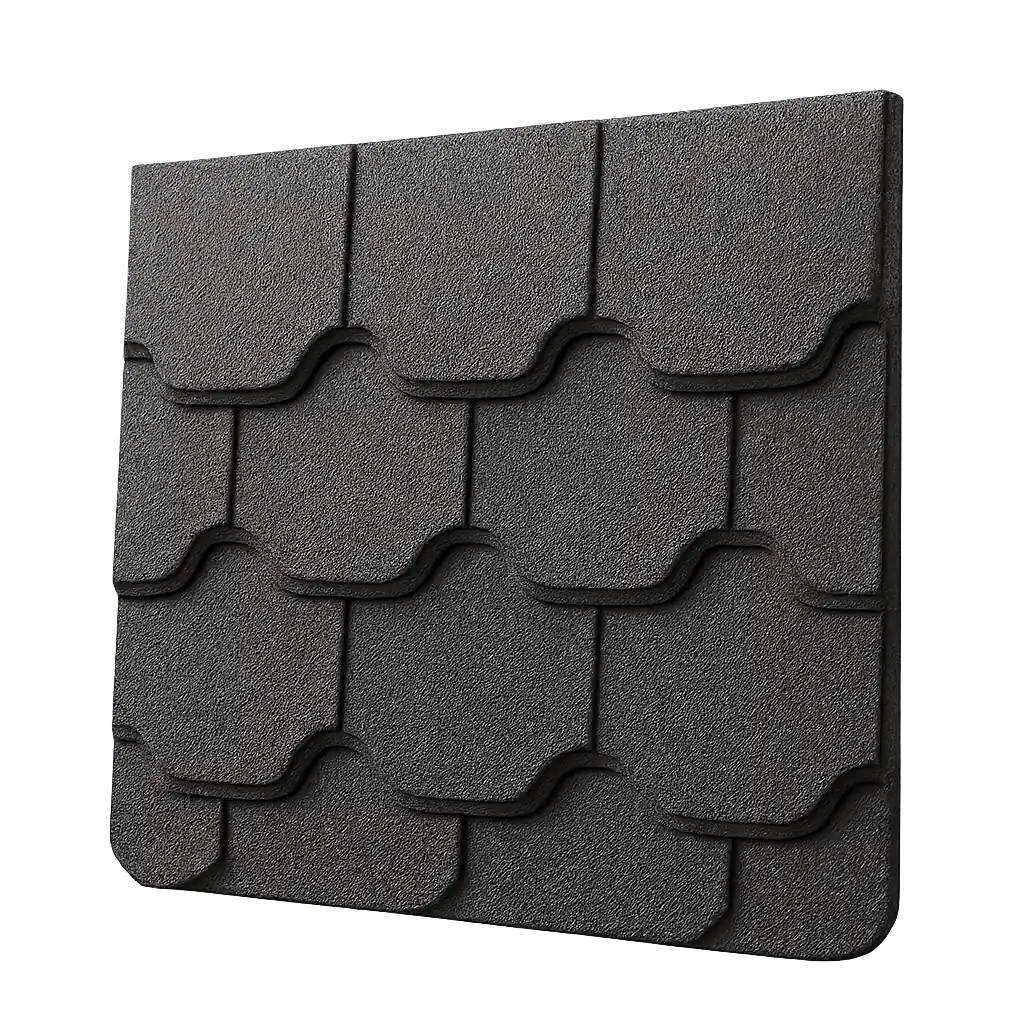
Wood shake appearance, no rot or warping.

The gold standard for low-slope protection.

Eco-friendly composites with authentic detail
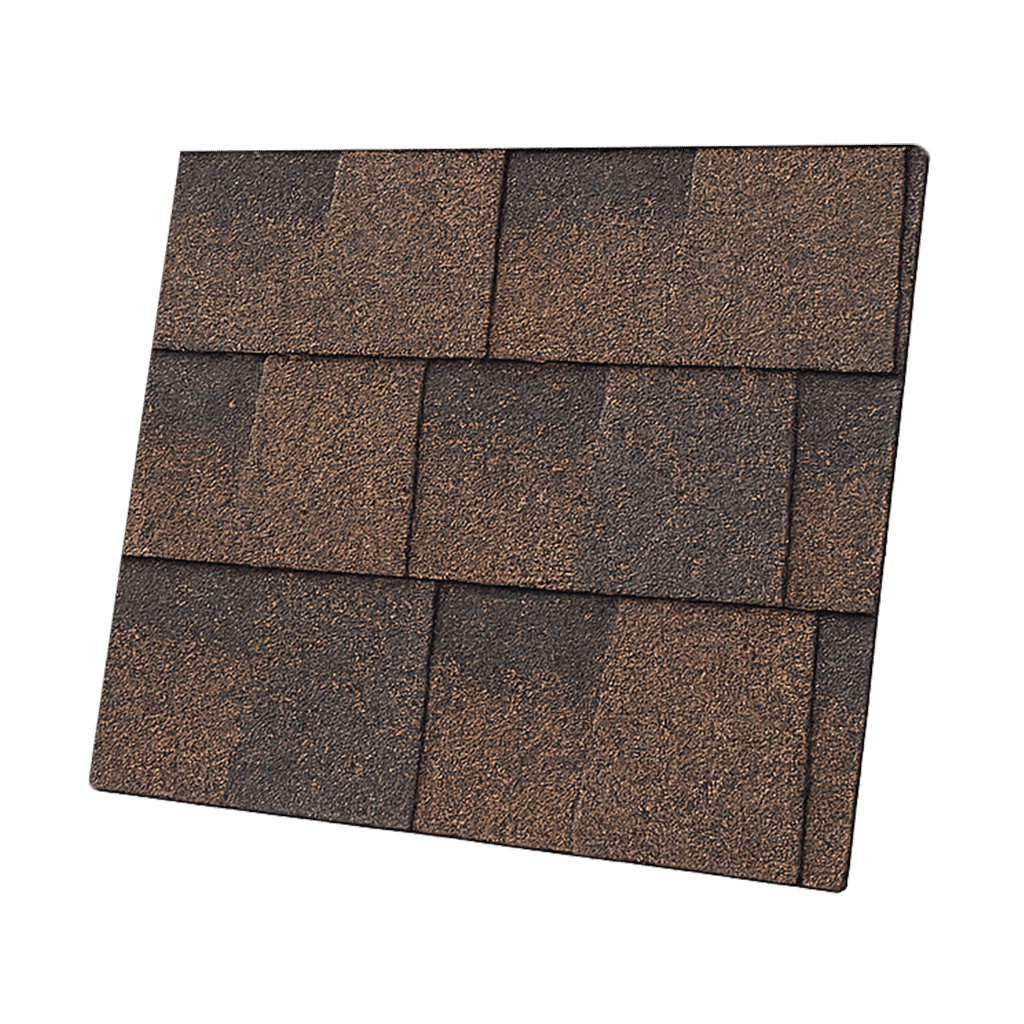
Classic layered look, durable protection.
Share

You requested a roofing estimate. The contractor walked your property, measured the roof, and sent you a document. You opened it expecting a price. Instead, you got a spreadsheet full of terms you’ve never seen before.
Ice and water shield. Drip edge. Step flashing. Ridge vent. Pipe boot. Starter strip.
These aren’t filler items designed to inflate the price. Each one serves a specific function in the roof system. But if no one explains what they mean, you can’t evaluate whether the estimate is fair, whether anything is missing, or whether you’re being charged for work your roof doesn’t need.
Here are the six line items that confuse homeowners most often, and what each one actually does.
Ice and water shield is a self-adhering membrane applied directly to the roof deck before the primary roofing material goes on. It creates a waterproof barrier at the areas most vulnerable to leaks: eaves, valleys, and around penetrations.
Unlike standard underlayment (which is water-resistant but not waterproof), ice and water shield seals around nail penetrations. When a nail goes through it, the membrane self-seals around the shaft, preventing water from wicking down the nail and into the deck.
Illinois building code requires ice and water shield from the eave edge to at least 24 inches past the interior wall line. This protects against ice dams, which form when heat escaping through the roof melts snow on the upper slopes. The meltwater runs down to the cold eave, refreezes, and backs up under the roofing material. Without ice and water shield, that backed-up water penetrates the deck and leaks into the home.
In a Chicago climate, ice and water shield isn’t optional at the eaves. The question is whether it’s applied beyond the code minimum. On complex roofs with multiple valleys, skylights, and wall intersections, extending ice and water shield to all vulnerable areas is a best practice that costs more but provides significantly better protection.
The estimate should specify the brand and type of ice and water shield, the areas where it will be applied, and the total square footage or linear footage. If it just says “underlayment,” ask whether that includes ice and water shield at the eaves and valleys, and if so, which product.
Drip edge is a narrow strip of metal (usually aluminum or galvanized steel) installed along the eave and rake edges of the roof. It serves two functions: it directs water away from the fascia board and into the gutter, and it prevents wind-driven rain from getting under the roofing material at the roof’s edges.
Without drip edge, water runs down the face of the fascia board, which causes rot over time. It also provides a clean, finished edge that keeps the roofing material from sagging or curling at the perimeter.
Illinois building code requires drip edge on new roof installations. If your current roof was installed before drip edge was required (or if the previous contractor skipped it), adding it during a replacement is both a code requirement and a performance improvement.
Drip edge should be listed separately or included under a “metal trim” line item. The estimate should specify the material (aluminum or galvanized), the profile, and the color. On a luxury roof replacement, the drip edge color should match or complement the roofing material.
Step flashing is a series of small, L-shaped metal pieces installed at every course where the roof surface meets a vertical wall (a sidewall, a dormer, a chimney, or an addition). Each piece overlaps the one below it, creating a shingled water barrier that directs water away from the wall joint and onto the roof surface.
The joint between a roof plane and a wall is one of the most common leak points on any home. Step flashing is the primary defense. When step flashing fails (through corrosion, displacement, or poor installation), water enters the wall cavity and can cause damage that goes undetected for years.
Step flashing should be listed wherever your roof meets a wall. The estimate should specify whether existing step flashing will be reused or replaced. On a full tear-off, best practice is to replace all step flashing with new material. Reusing old step flashing to save cost is a common shortcut that creates leak risk on an otherwise new roof.
The material matters too. Aluminum step flashing is standard. Copper step flashing is specified on premium installations where longevity and aesthetics justify the higher cost.
A ridge vent is a continuous vent installed along the peak of the roof that allows hot, moist air to exhaust from the attic. It works in conjunction with soffit vents (intake vents at the eave) to create a natural airflow pattern: cool air enters at the soffit, rises through the attic as it warms, and exits at the ridge.
Attic ventilation affects both the roof’s lifespan and the home’s energy efficiency. Without adequate exhaust ventilation, heat and moisture accumulate in the attic. In summer, this superheats the roof deck and accelerates shingle deterioration from below. In winter, trapped moisture promotes mold growth and can cause condensation that damages the deck and insulation.
Every major roofing manufacturer requires adequate ventilation as a condition of their material warranty. If the ventilation doesn’t meet their specifications, a warranty claim can be denied. A ridge vent is typically the most effective and least visible way to meet exhaust ventilation requirements.
The estimate should specify the type of ridge vent (brand and model), the linear footage, and whether the ridge will be cut open to accommodate it (if the home doesn’t currently have a ridge vent). If the home currently uses box vents or power vents and the contractor is converting to a ridge vent, the estimate should include capping the old vent openings.
If the estimate doesn’t mention ventilation at all, ask. A contractor who replaces roofing material without evaluating ventilation is missing a step that affects the long-term performance of everything else they’re installing.
Pipe boots are rubber or metal collars that seal around plumbing vent pipes where they penetrate the roof surface. Every home has at least one plumbing vent pipe coming through the roof, and most have several.
The rubber portion of a pipe boot degrades over time due to UV exposure and temperature cycling. When it cracks or separates from the pipe, water runs directly down the vent pipe and into the home. This is one of the most common causes of interior leaks and one of the cheapest components on the roof to replace.
Pipe boots should be listed as a line item or included under a “penetration flashing” category. On a full roof replacement, every pipe boot should be replaced with new, regardless of the current condition. The estimate should specify the number of pipe boots and the material (rubber, rubber-metal hybrid, or all-metal for longer life).
If the estimate doesn’t mention pipe boots, the contractor may be planning to reuse the existing ones. For a new roof, that’s a shortcut that creates a known failure point in an otherwise new system.
Starter strip is a narrow course of shingle material installed along the eave and rake edges before the first full course of roofing. It provides an adhesive seal line beneath the tabs of the first course and fills the gap where the tab cutouts would otherwise expose the deck.
Without starter strip, the bottom edge of the first course of shingles is unsealed. Wind can lift these shingles, and water can penetrate the cutout gaps. Starter strip is a simple, inexpensive component that prevents both problems.
Some contractors cut the tabs off full shingles and use them as starter strip. Others use purpose-made starter strip products. Both methods work, but purpose-made starter strip provides more consistent adhesive coverage.
Starter strip should be listed as a line item. If it’s absent, ask how the contractor plans to handle the eave and rake edges. This is a basic component that should be part of every asphalt shingle installation.
These six items are the most commonly misunderstood, but a complete roofing estimate includes additional components: tear-off and disposal, primary roofing material (with product name and quantity), labor, permits, and warranty terms.
A well-structured estimate breaks each of these into separate line items so you can compare proposals from different contractors on an equal basis. If one contractor quotes a single lump sum and another provides a 15-line itemized breakdown, the itemized estimate is the one giving you the information you need to make a good decision.
If you want an estimate that explains every line item in plain terms, request a consultation. We walk through every component so you understand exactly what you’re paying for before you sign anything.
Timeless elegance and unmatched longevity.
Rustic warmth with natural insulation.
Slate & shake looks, modern performance.
Architectural shingles with slate-like appeal.
Energy-efficient, modern, and long-lasting.
Mediterranean beauty, natural fire resistance.
Lightweight durability with classic charm.
Wood shake appearance, no rot or warping.
The gold standard for low-slope protection.
Eco-friendly composites with authentic detail
Classic layered look, durable protection.